
When you upload a blogger template to your site, sometimes top navigation menu is not displaying like in the demo blog of that theme. Instead of top navigation menu, only showing a blank space.
This tutorial will explain how to configure your menu.
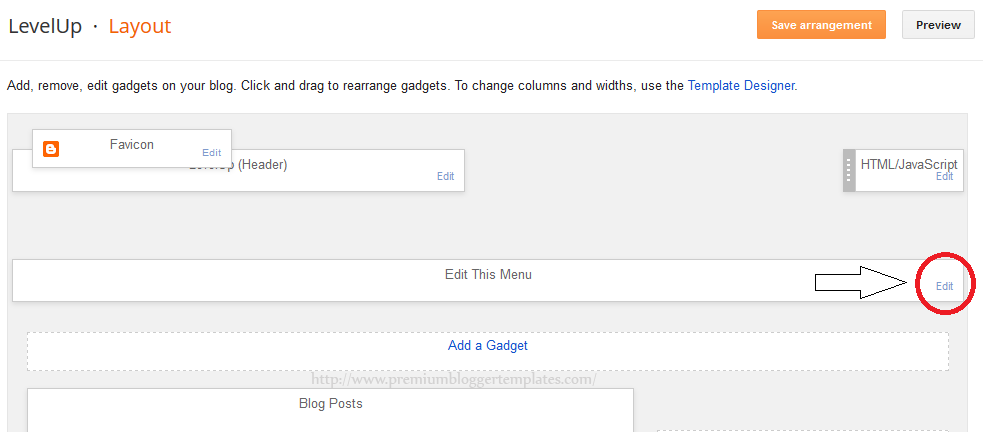
Go to "Layout" of your Blogger blog.
You can see a widget named "Edit This Menu" or a widget with similar name. Click on "Edit" link of that widget.
A new window will open. It will look like below:

For example, think you have this contact page: http://example.com/contact.html
Now we going to add that contact page to the menu.
Add the word "Contact" as "New Site Name".
Add the URL "http://example.com/contact.html" as "New Site URL".
Look at the image below:
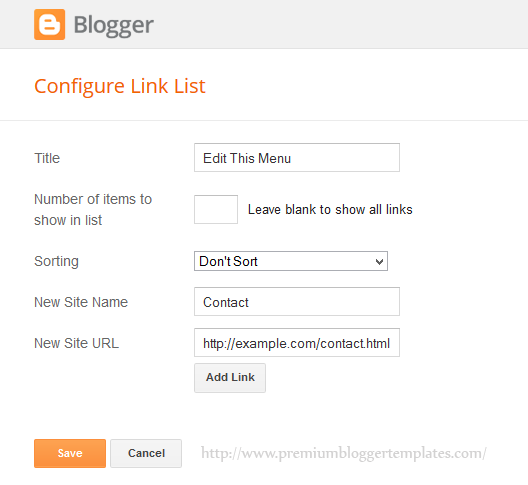
After that click on "Add Link" button. Now you have successfully added first link to your navigation menu.
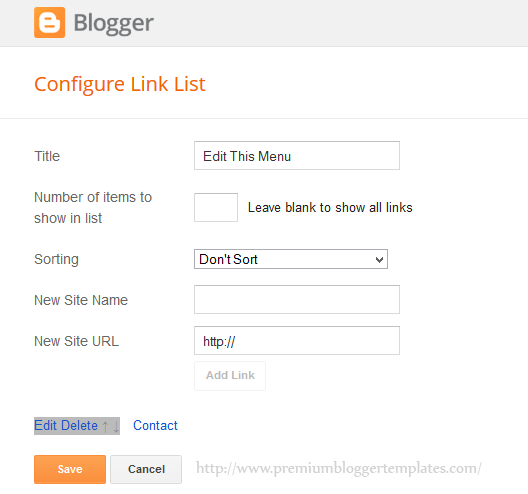
Like this, you can add more links to your navigation:
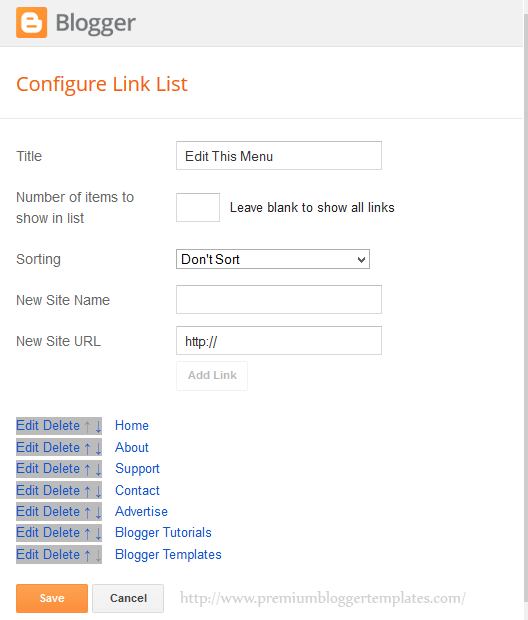
Also can change links order, edit links or delete added links using controllers given.
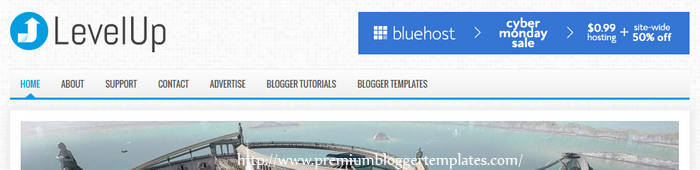
Finally click on "Save" button. Refresh your site and you can see top navigation menu is displaying.
I hope this tutorial will help you to understand how to setup your LinkList menu widget.
how to remove this linked list gadget from the layout of blogger?
you can remove it from edit html.
how to rezise / increase post wapper and decrease wiget right sidebar
How to add drop down menu's?
thanks Mr, I can Fixed my blog problem
How to remove the drop down menu tap?